Real-Time Communication with Python & WebSockets
Wednesday, April 17, 2024
When building real-time applications—like chat apps, live notifications, or multiplayer games—having the ability to push updates from the server to the client instantly is crucial. While HTTP requests work for most things, they’re not ideal for this kind of real-time communication. That’s where WebSockets come in.
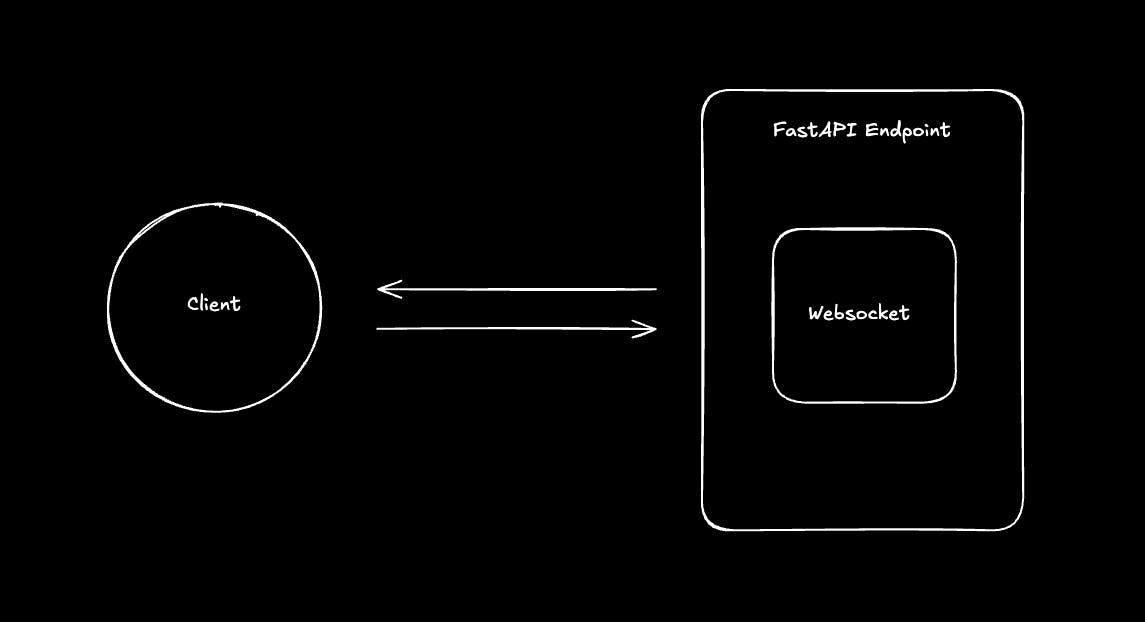
WebSockets provide a persistent, two-way communication channel that allows data to flow freely between the client and server. This means that both sides can send and receive messages without the need for constant re-requests. It’s perfect for applications that need instant updates.
In this blog post, we’ll dive into setting up a real-time WebSocket server using FastAPI, a Python web framework that makes this process easy and efficient.
Setting Up a WebSocket Server with FastAPI 🔧
FastAPI makes it incredibly simple to get a WebSocket server up and running. Let’s walk through the process.
Install FastAPI and Uvicorn:
First, make sure you have FastAPI and Uvicorn (an ASGI server) installed:
pip install fastapi uvicorn
Create the WebSocket Server:
Now, let’s create a simple FastAPI application with WebSocket support. We’ll start by creating a server that can accept WebSocket connections and send messages back to the client.
from fastapi import FastAPI, WebSocket, WebSocketDisconnect

app = FastAPI()

# this will store all active connections
active_connections = []

@app.websocket("/ws")
async def websocket_endpoint(websocket: WebSocket):
    # accept the connection
    await websocket.accept()
    active_connections.append(websocket)
    try:
        while True:
            # receive a message from the client
            data = await websocket.receive_text()
            # send the received message to all connected clients
            for connection in active_connections:
                await connection.send_text(f"Message from server: {data}")
    except WebSocketDisconnect: #
        active_connections.remove(websocket)
        print("A client has disconnected")
Run the WebSocket Server:
You can run the FastAPI application using Uvicorn:
uvicorn main:app --reload
This will start a local server, and your WebSocket endpoint will be accessible at ws://localhost:8000/ws.
Handling Connections and Broadcasting Messages 📡
As your WebSocket application grows, you’ll want to manage user connections more effectively and send messages to specific clients or broadcast messages to all active connections. Here’s how you can handle that.
Storing Active Connections:
As shown in the previous code, we maintain a list called active_connections to keep track of all connected WebSocket clients. This allows us to send messages to all connected clients.
If you need to send messages to a specific client, you can modify the dictionary to store user-specific connections by their ID or username:
active_connections = {}

@app.websocket("/ws/{user_id}")
async def websocket_endpoint(websocket: WebSocket, user_id: str):
    await websocket.accept()
    active_connections[user_id] = websocket
    try:
        while True:
            data = await websocket.receive_text()
            # Send the message only to the specific user
            if user_id in active_connections:
                await active_connections[user_id].send_text(f"Message to {user_id}: {data}")
    except WebSocketDisconnect:
        del active_connections[user_id]
        print(f"User {user_id} disconnected")
Broadcasting Messages to All Clients:
If you want to broadcast a message to all connected clients, simply loop through the active_connections and send the message to each one:
for connection in active_connections.values():

    await connection.send_text("This is a broadcast message to all clients!")
Deployment Considerations
Running a WebSocket server in a production environment requires a bit more thought. Here are a few things to consider:
- Scaling WebSockets: WebSockets are stateful, meaning each connection is persistent. As your app grows and handles more connections, you may need to scale horizontally by running multiple instances of your WebSocket server behind a load balancer. Tools like AWS Elastic Load Balancing or NGINX can help with this.
- Use a Reverse Proxy (like NGINX): In production, you’ll likely want to run your WebSocket server behind a reverse proxy to handle incoming WebSocket connections securely over HTTPS (Here is a link on how to do it).